How To Install STi Cat-Back Exhaust
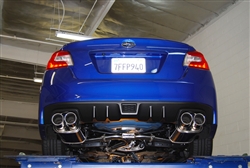
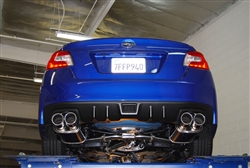
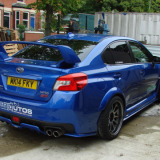
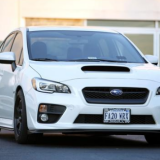
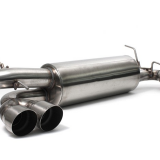
An aftermarket single tip cat-back exhaust system is great to have, knowing that the stock exhaust on your STi there offers average performance. But, why not have an aftermarket double tip cat-back exhaust system? =). You know the saying “Two is better than one.” Anyway, this installation guide will walk you through the process of installing a dual-split cat-back exhaust for a 2011-2014 STi by Borla. Installing an other STi Cat-back exhaust is very similar to this installation, so if your new exhaust system is of a different brand, then that’s ok. Try finding a friend or someone that can help with the install. Remember, two is better than one!
You’ll need a ⅜ drive ratchet, ⅜ drive ratchet w/ 3’ extension, 15 mm deep well socket, a pry bar, penetrating spray lube (if your STi is preowned), two jack stands or a lift of some kind. Oh, and protective eyewear, can’t forget about protective eyewear =).
1. Have the car completely turned off, with keys out of the ignition. If the car that’s getting the new exhaust has been used recently and the stock exhaust is hot, then allow up to an hour for it to cool down. Then, you can begin the installation process. Put on protective eyewear before moving on.
2. Undo the bolts that are retaining the flange. The flange can be found just ahead of the front muffler. Set the part aside. You’ll be needing this later.
3. Lube up all hangers and rubber isolators.
4. If you happen to have an extra pair of hands to help you with this step, then you won’t be needing a muffler stand to handle the exhaust. Otherwise, you’ll need the stand. With the exhaust held by either someone else’s hand or yours, remove every single hanger from the rubber isolators. Remove the entire stock exhaust afterwards.
5. Take the new front pipe assembly and have it in correct position. Make sure that original hardware is hand-tight.
6. Take one of the new clamps and place it over the new intermediate pipe’s expanded end. Don’t tighten the clamp! Set the intermediate pipe into position while ensuring that the hanger’s installed in the rubber isolator.
7. Take another clamp and place it over the brand spankin’ new L/H muffler assembly. Same as before. Set it in place while making sure that the hanger’s installed in the rubber isolator and don’t tighten the clamp. Repeat this step for the R/H muffler assembly which came with the installation kit. Make sure that there’s clearance under the car and for the exhaust to allow for exhaust tip alignment.
8. Torque Accuseal clamp to 32-35 lbs, or in accordance with the car owner’s manual and what’s stated in the instructions for your non-Borla aftermarket STi cat-back exhaust system. Same goes for the flange hardware when you reinstall that. Torque to 18-22 lb-ft if you’re installing the Borla dual tip cat-back exhaust. Ensure that clamp openings aren’t over any notches in any of the pipes.
9. Inspect underneath the car again to make sure that your new exhaust system has proper clearance, as well as all wires, hoses, lines, and other parts. It would be very good of you to double-check all fasteners to make sure that they’re nice n’ tight. We don’t want parts falling off or anything, do we? =).
10. Start him/her up. Observe carefully for any leaks. If leakage of any kind occurs, then turn the car off and tend to the problem. Aside from that, don’t be alarmed if smoke or fumes are being emitted from the new exhaust. Once the new system reaches normal temperatures and functionality, the smoke and fumes will dissipate. Enjoy!


